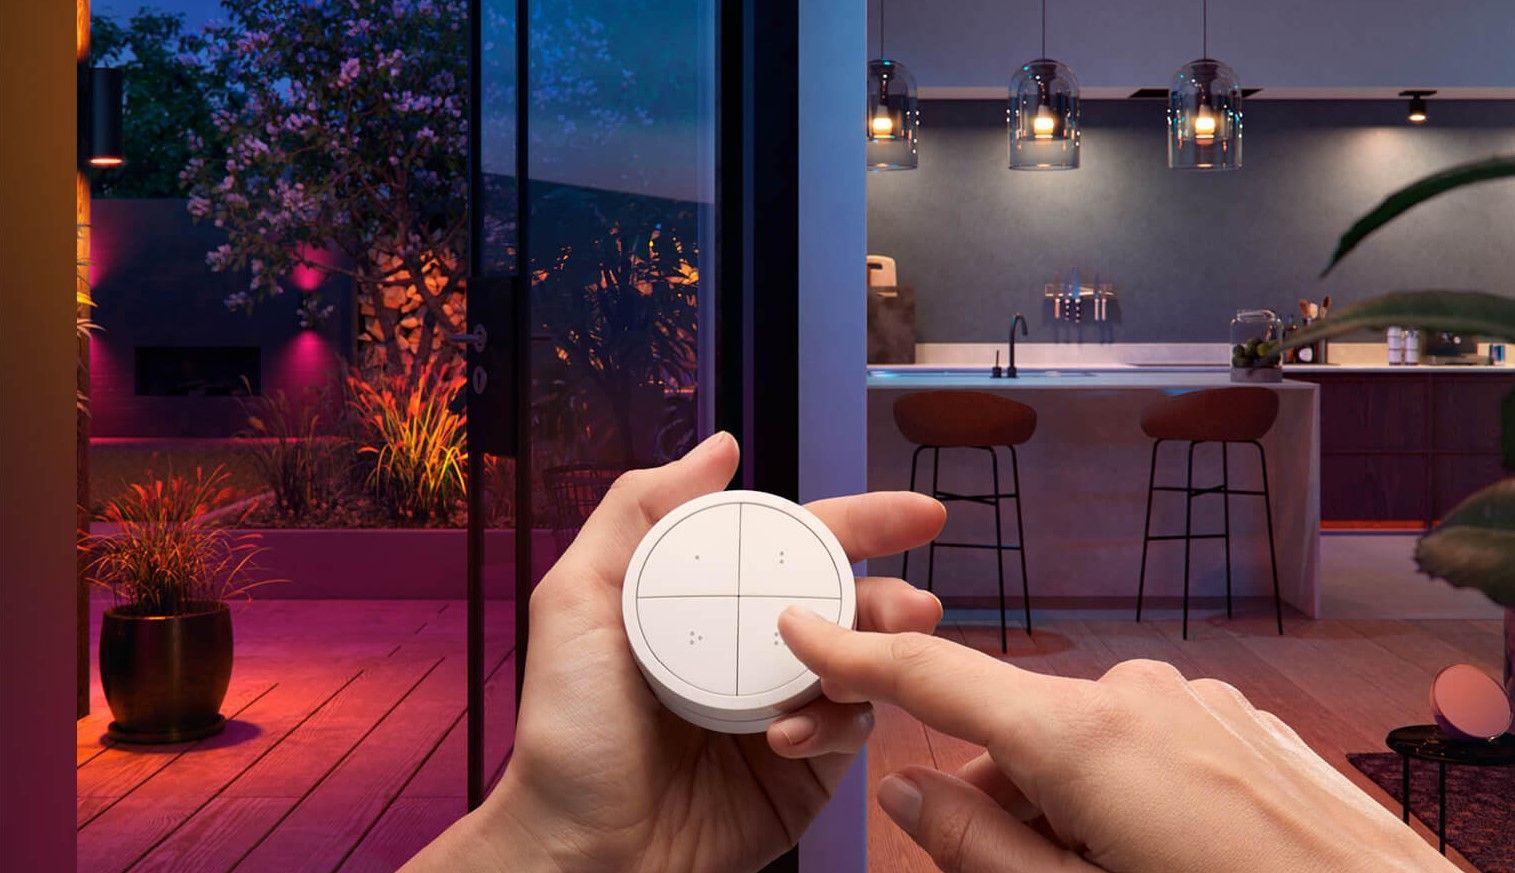
Hue Tap Dial Switch: Unleash the ultimate Home Assistant switch
Last updated: January 2026 | Integrate Philips Hue Tap Dial Switch into Home Assistant to create a powerful remote control, supporting single tap, double tap, hold, and up to four different rotate functionalities.
| Skill | Cost | Time |
|---|---|---|
| 1 / 5 | ~50 Euro | ~15min |
Are you looking to extend your Home Assistant setup and gain more control over your smart home devices? Despite its ties to the Philips Hue ecosystem, the Tap Dial Switch can be a fantastic addition to your smart home toolkit. In this concise blog post, we'll show you how to turn this switch into the ultimate Home Assistant switch, enabling you to trigger a wide range of actions with just a few clicks and twists.
Unleashing the Potential with Home Assistant
The switch is a high-quality device with four buttons and a dial, but it's often overlooked by those who don't use the Hue ecosystem. However, with Home Assistant, you can make the most of this Zigbee device's capabilities and integrate it seamlessly into your smart home.
Here's a quick guide to harnessing the power of this switch with Home Assistant:
Step 1: Connect the Hue Dial Switch
Connect your Philips Hue Tap Dial Switch to Home Assistant using the Phoscon or Zigbee2MQTT integration. Once connected, Home Assistant can detect button presses and dial movements.
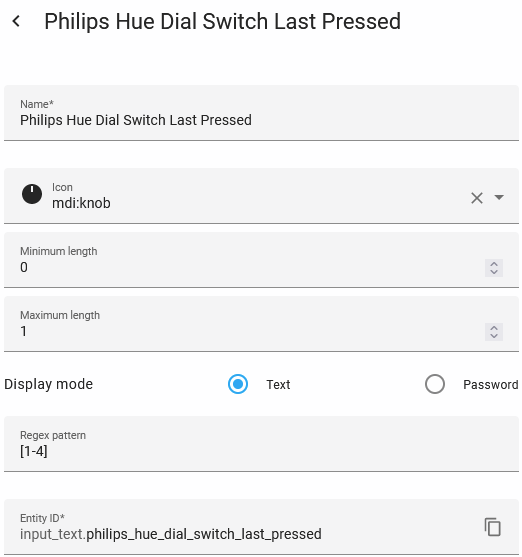
Step 2: Set Up an Input Text Helper
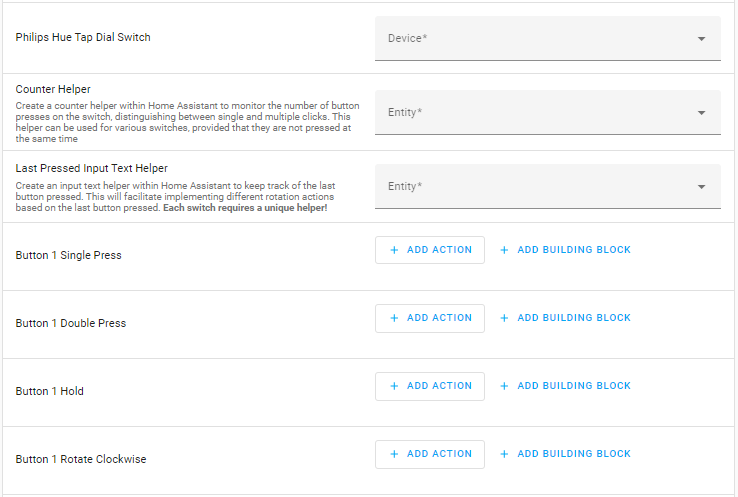
Create an input text helper within Home Assistant to keep track of the last button pressed. This will facilitate implementing different dial actions based on the last button pressed.
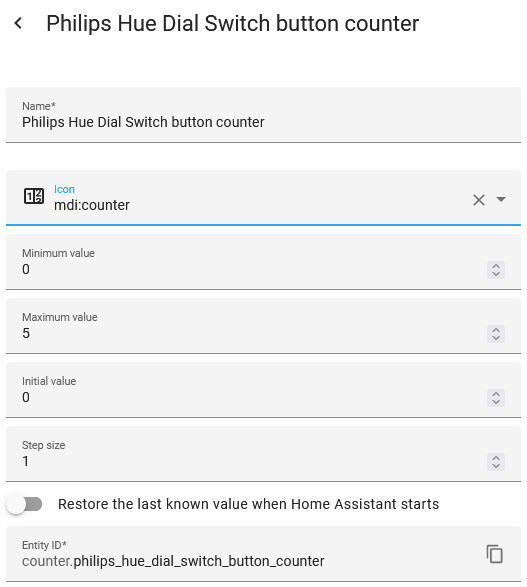
Step 3: Create a Counter Helper
Create a counter helper within Home Assistant to monitor the number of button presses on the switch, distinguishing between single and multiple clicks.
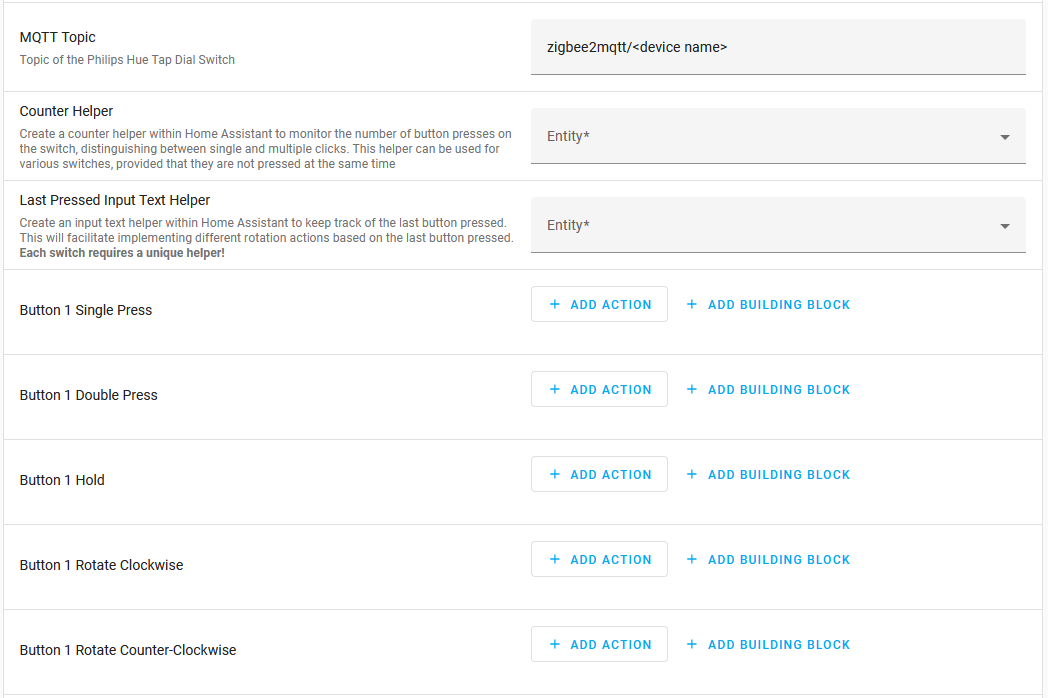
Step 4: Configure Automation
Now, let's get creative with automation! Design your automation to respond to various button presses and dial combinations. For instance:
- Single Click button 1: Use it to turn the lights on.
- Double Click button 1: Switch to a different scene
- Hold button 1: Turn the lights off.
- Dial after button 1: Adjust light brightness.
- Single Click button 2: Use it to turn the receiver on.
- Double Click button 2: Switch to a different source
- Hold button 2: Turn the receiver off.
- Dial after button 2: Adjust receiver volume.
- Single Click button 3: Play/Pause music on a speaker
- Double Click button 3: Switch to the next song
- Hold button 3: Join the speaker with another speaker
- Dial after button 3: Adjust speaker volume.
Remember, you can customize the dial's actions based on the last button pressed, offering unparalleled control and versatility.
Following these straightforward steps, you can make the Philips Hue Dial Switch an integral part of your Home Assistant setup.
NEW since January 2026
We have added the variable action_step to the Z2M Blueprint, enabling larger step-based increase or decrease control. There are some example codes below.
Zigbee2MQTT

Those who prefer an automation over a blueprint can download the Zigbee2MQTT automation here.
deCONZ (Phoscon)
Those who prefer an automation over a blueprint can download the deCONZ automation here.
ZHA (Zigbee Home Automation)
Because of the limited capabilities of the Philips Hue Tap Dial Switch in ZHA, you can't fully utilize its features. We suggest switching to Zigbee2MQTT as it has the best and largest support for Zigbee devices.
Conclusion
If you want to extend your Home Assistant capabilities and enhance your smart home experience, consider adding the Philips Hue Tap Dial Switch to your arsenal. With the right Home Assistant helpers and automation in place, you can unlock the full potential of this device, turning it into the ultimate Home Assistant Switch. Simplify your smart home control and enjoy the freedom to customize your actions to suit your preferences. Happy automating!
action_step examples
action_step lets one automation handle small and large adjustments. A short press, long press, or fast dial turn can all change the same value, just by a different amount.
The basic idea is:
- Read the current value
- Convert
action_stepinto a delta - Cap the delta
- Clamp the final result to valid limits
Volume example
service: media_player.volume_set
target:
  entity_id: media_player.YOUR_MEDIA_PLAYER
data:
  volume_level: >
    {{
      [0,
        (state_attr('media_player.YOUR_MEDIA_PLAYER','volume_level') | float(0))
        + ([ (action_step / 8) * 0.01, 0.20 ] | min)
      ] | max
    }}
Small action_step values make tiny changes, larger values increase the volume more, but never more than 0.20 per action.
Brightness example
service: light.turn_on
target:
  entity_id: light.YOUR_LIGHT
data:
  brightness: >
    {{
      [0,
        [255,
          (state_attr('light.YOUR_LIGHT','brightness') | int(0))
          + ([ (action_step / 8) * 8, 60 ] | min)
        ] | min
      ] | max
    }}
Here action_step scales the brightness change, capped to keep adjustments smooth and predictable.
That is all you need: scale, cap, clamp.