Intelligent Airflow: A Guide to Making Your Window Ventilation Smart
We have developed a custom-built solution that allows for automated control of the ventilation ducts through home automation programs like Home Assistant.
| Skill | Cost | Time |
|---|---|---|
| 2 / 5 | ~35 Euro | ~120min |
Challenge / Annoyance
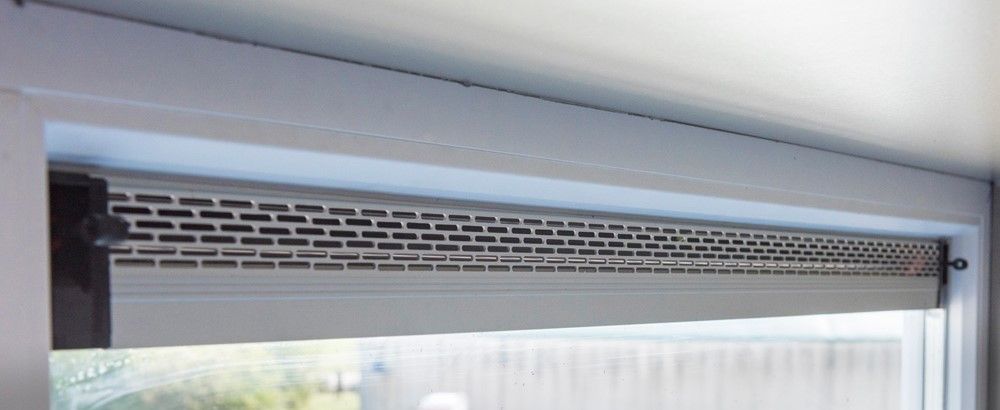
Modern houses often feature ventilation ducts above windows, which are typically manually operated using a handle or lever to provide adequate home ventilation. However, leaving these ducts open can result in several annoyances, such as heat loss and exposure to outside noise.
Solution - Hardware
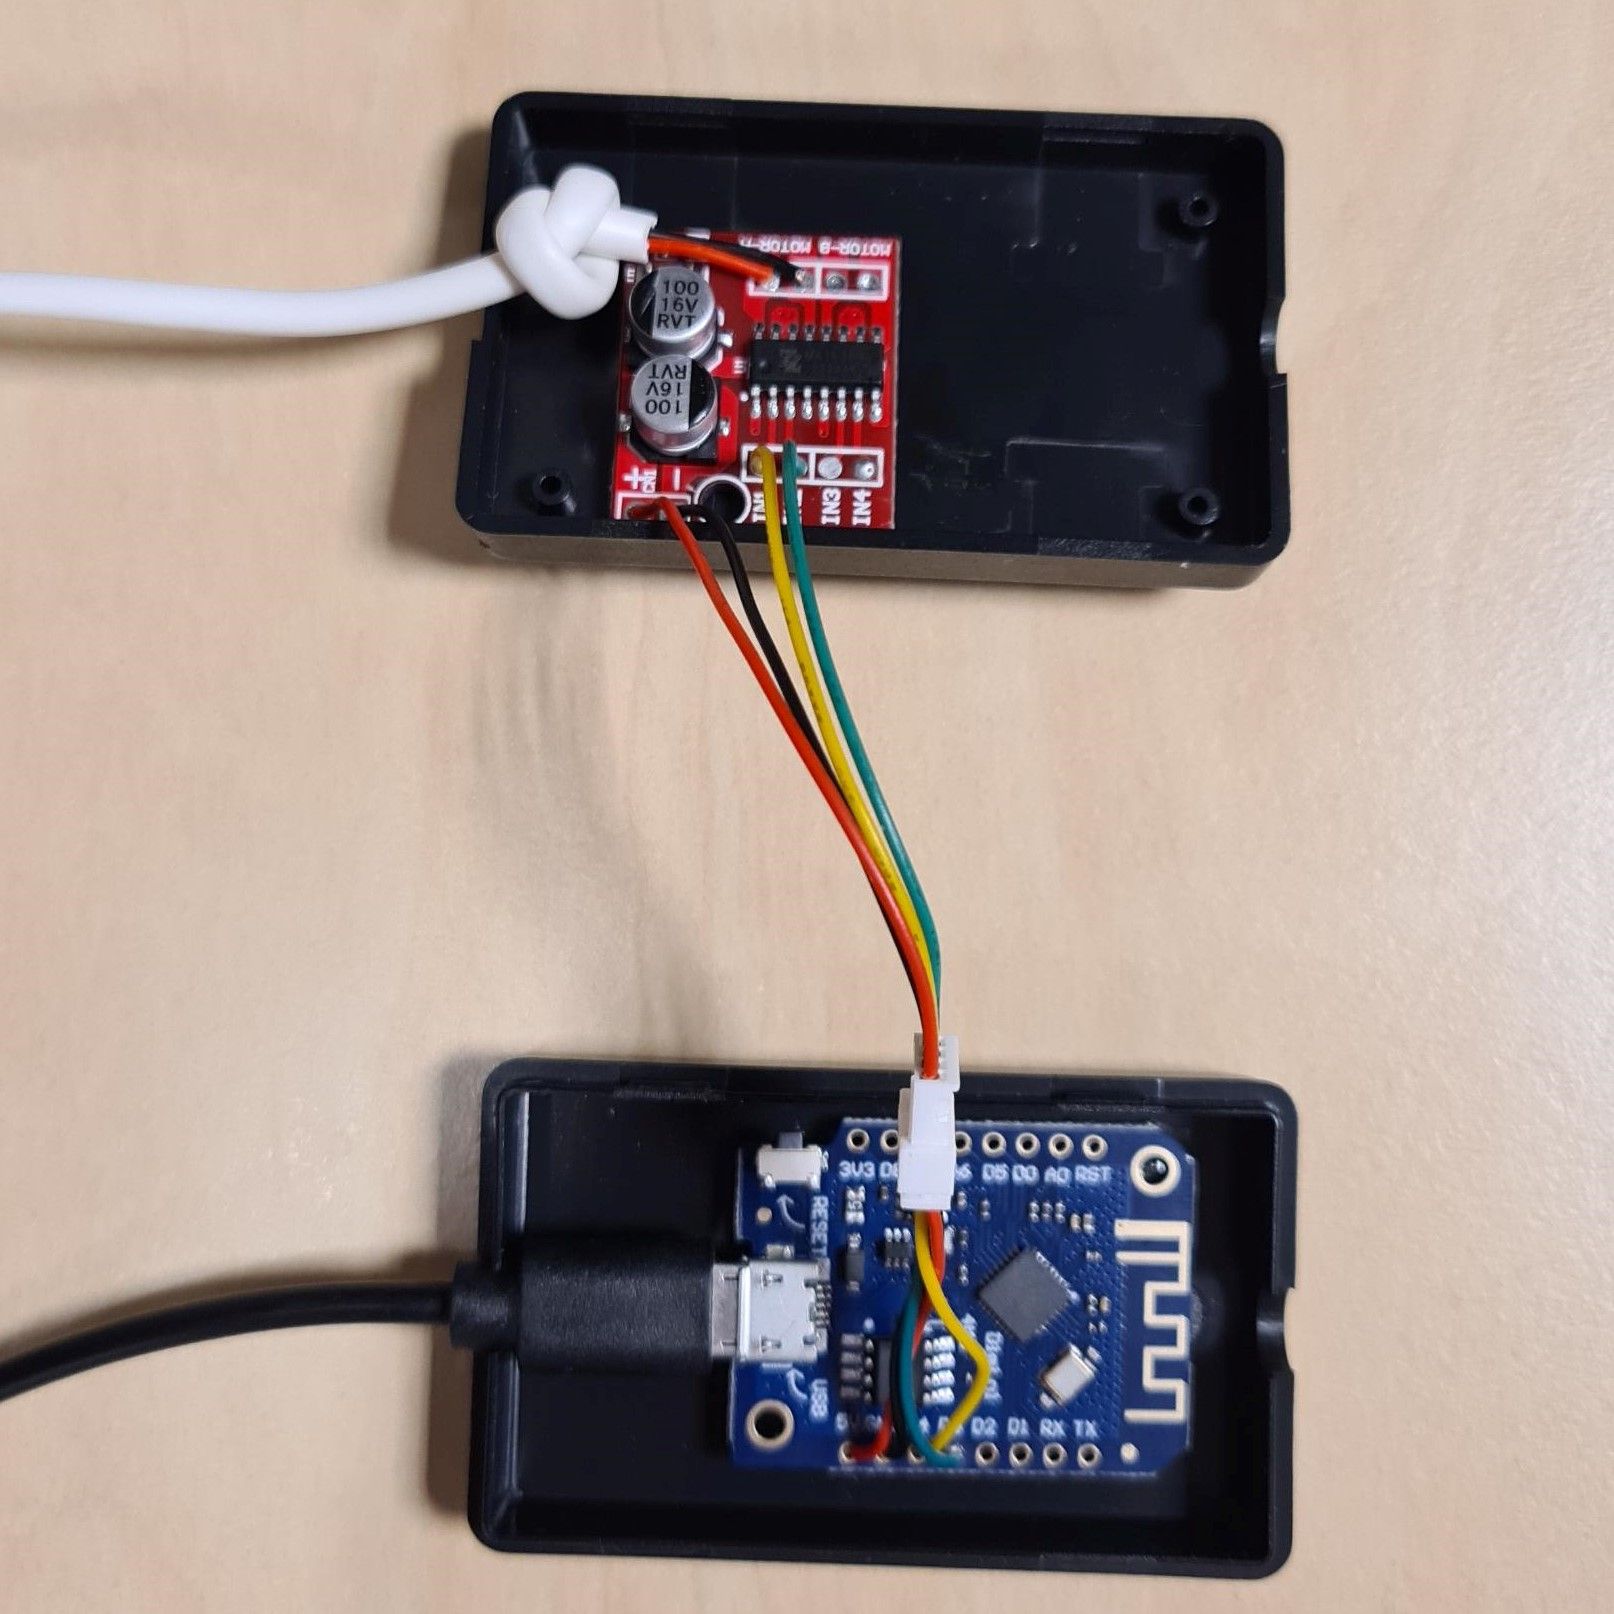
We created a custom-built replacement for the manual mechanism for opening and closing the ventilation duct. Our solution involves mounting a linear actuator onto the window and connecting it to the duct via a 3D-printed coupler. An H-bridge controller (MX1508) connects the linear actuator to an ESP8266 nodeMCU, allowing it to extend and retract by activating GPIO pins IO0 or IO2.

Solution - Software
An Arduino script manages the GPIOs of the nodeMCU over MQTT and integrates it within Home Assistant to regulate ventilation with automation based on various triggers. To ensure maximum ventilation, we selected triggers to keep the ventilation open unless certain conditions were met. These conditions included an outdoor temperature below a particular degree or when central heating is on. Additionally, we programmed the system to close the living room ventilation when presence was detected to improve sound isolation.
You can download the Arduino IDE code below:
Result
A tailor-made mechanical attachment to the ventilation duct, designed to enable automated control through Home Assistant (or any preferred home automation platform).
Bill of materials
- ESP8266 NodeMCU (Wemos D1-mini)
- Linear actuator (Only motor 30mm - you need to measure the distance the actuator has to cover from closed to open)
- MX1508 DC motor driver module
- Casing 60*36*17mm (accommodated both the ESP and MX module)
- 3D-printed coupler for DUCO ventilation
- 4-pin male & female micro-JST connector
- (Micro) USB charger and cable (from an old smartphone)
- 2-core low-voltage cable (we used telephone wire)
- Nano tape
Off-the-shelf alternatives
Not available unless you want to replace the entire ventilation element
Considerations
At first, we contemplated using a battery-operated device (with a LiPo battery) and managing it through the Zigbee protocol. However, we soon realized that developing custom Zigbee code necessitated using expensive software, which was not practical for our needs. Since we had access to a nearby power outlet at our proof of concept location, we opted instead for a WiFi-powered device controlled by an Arduino script.
Conclusion
We have successfully created an automated mechanism for regulating home ventilation. Our cost-effective solution allows customization based on specific triggers, ensuring optimal ventilation while avoiding annoyances such as heat loss and external noise. We hope our work will inspire others to explore similar solutions and make homes more comfortable and energy-efficient.